This page will be updated periodically if new techniques are discovered.
Click on screen capture panels to view in new tab
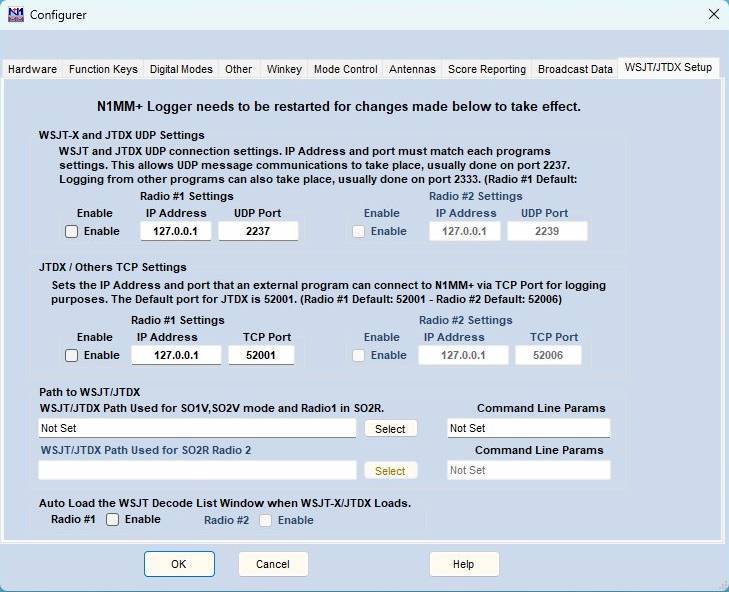
Here are some screen shots and tips from my own setup for running N1MM with my Yaesu FTDX101D and a new Windows 11 computer. These settings may help you on a FTDX10 or FT710, since they are contemporary radios with similar hardware architecture. The setup shown here will get you running on CW and SSB with N1MM for the most common contests. RTTY and other modes will go on a separate page, if I get them running. I do not use N1MM with WSJT-X or FT8. I like to keep my setups simple from the aspect of software, since its mostly the software that screws things up.
WARNING: To use the FTDX101 with any external software or CAT programs you MUST download and install the USB driver from the Yaesu website specific to your radio on your computer, BEFORE you connect the radio to the computer or attempt to configure software. Do not ignore this first basic step.
WARNING: You MUST prevent windows from keying up your FTDX101 during bootup. You could turn the radio OFF, boot the computer (and let it do its USB port scans), then turn the radio on, and then launch N1MM. But absent mindedly booting the computer while on the radio is on will result in chaos that may break your radio and amplifier. I use an external USB hub with switches on each port. The printer, scanner, video camera (for zoom meetings), the radios, and everything else connects via this switchable hub. And yeah, I don't like random software firing up the camera; hardware always works, software does what it likes.
I only turn the device USB connection on when I am ready to use it. This is a reliable HARDWARE method to prevent damage to your radio. If the radio is on, boot the computer, let it finish, push the USB hub button to make the connection to the radio, then launch N1MM or any other CAT or FT8 program. That way, everything wakes up in a good mood.
Also, be sure to set the radio to lowest power and SSB mode when you turn it off, so it wakes up in a mode which does not transmit much power. This is especially important while you are setting up the radio and computer to talk to each other. Also be sure a dummy load is attached, so no computer generated out of band crap gets out on the air, and the radio does not try to transmit into a bad load.
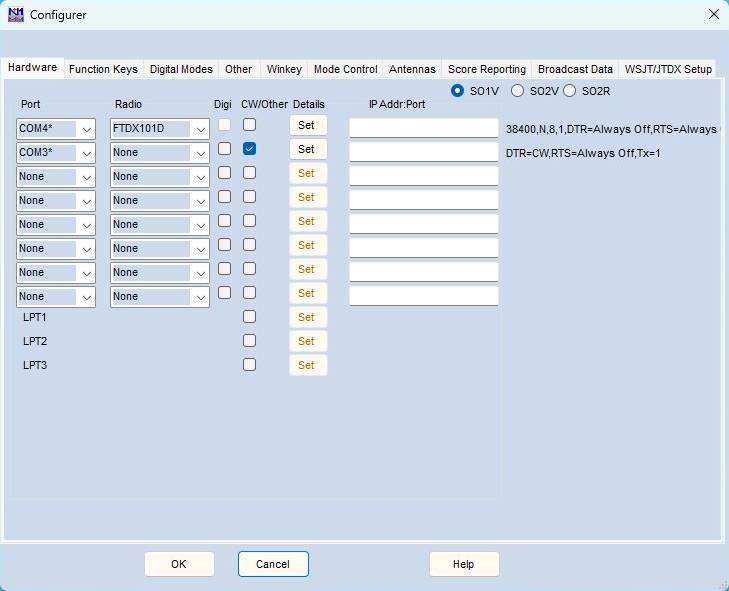
Download the latest stable version of N1MM. Don't mess with the beta versions, let the geeks get through playing with it. Launch the program. Navigate to this screen. Pick YOUR radio from the drop down screen. I mostly stick to the recommended settings.
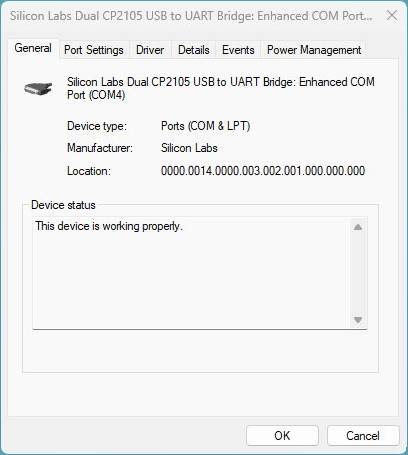
There may be a bunch of COM ports offered. You MUST select the ENHANCED COM port for the rig control. Sometimes this can be a matter of just trying til you get it right. There is a more scientific method, which I will show.
The COM port used for CW is the STANDARD COM PORT shown in the computer DEVICES screen.
Very important: the baud rates on BOTH these MUST match the settings in the radio. Use the Yaesu manual to open the screen on the radio to set these. I make every attempt to get the COMPUTER to match the default settings in the RADIO, rather than the other way round.
Clicking the SET button pops up a screen which allows you to set the BAUD rate. Again, check your radio is set to the defaults of 38,400 for the ENHANCED COM PORT and 4800 for the STANDARD COM PORT. Make sure the computer is set identically.
Click OK to exit the window, so that the new parameters are stored. Push the button on the external USB HUB to enable the connection. If you are lucky, the transmit mode and the frequency will display properly. If you turn the frequency knob, the computer N1MM display should track the radio. If you click the standard message "DIT DIT", you should get that sent in CW mode. If not, don't dispair. What we have here is a failure to communicate. First check that the radio mode is the same as the mode displayed on N1MM, and change it on the radio to match. The error message about not matching modes on the top of the main N1MM screen should go away and the frequency and mode should be correct on both the radio and N1MM.
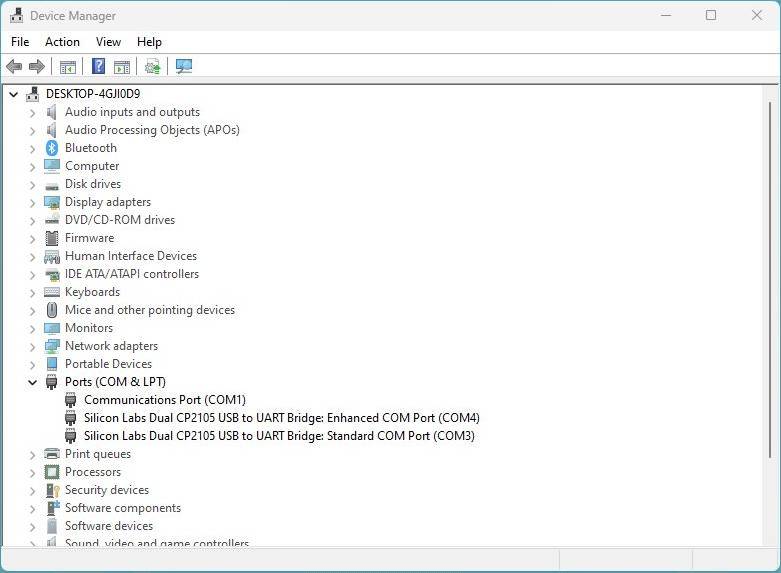
Here are some Windows 11 tools which may allow you to fix the problem.
If everything was working from the previous pane, skip this step. If its unhappy, this procedure will tell you why. Go to the the Windows logo at the lower left of the screen and right click. Select DEVICE MANAGER. This is what you will see. Expand the PORTS information by left clicking on the > symbol near PORTS. You will see all the COM PORTS listed, along with their COM number. See how the ENHANCED COM PORT is identified? Make sure that COM PORT NUMBER is the one selected next to the RADIO selection in N1MM. Use the STANDARD COM PORT for the CW control. Easy peezy.
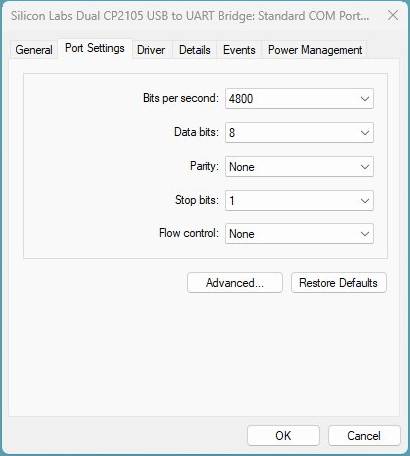
 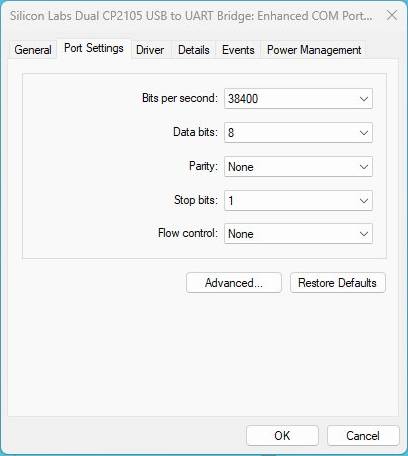 The COM PORT numbers at this point match. Now the BAUD RATES must match also. Use the PORT SETTINGS TAB in this window to get the screen on the right. Use the drop down selections to set the baud rate in the port to match the radio and the N1MM program. Yeah, after all these years Windows should figure that crap out and make it "plug and play", but sometimes it doesn't. Also set the bits and stuff to match as well. That fixes this COM PORT.
The STANDARD COM PORT settings are managed in the same way as shown above. Make sure the computer has the same settings as the radio (hopefully the Yaesu default values), which will show yellow. This is important to keep all the Yaesu setting the same for ALL the programs you use, like WSJT-X for FT8.
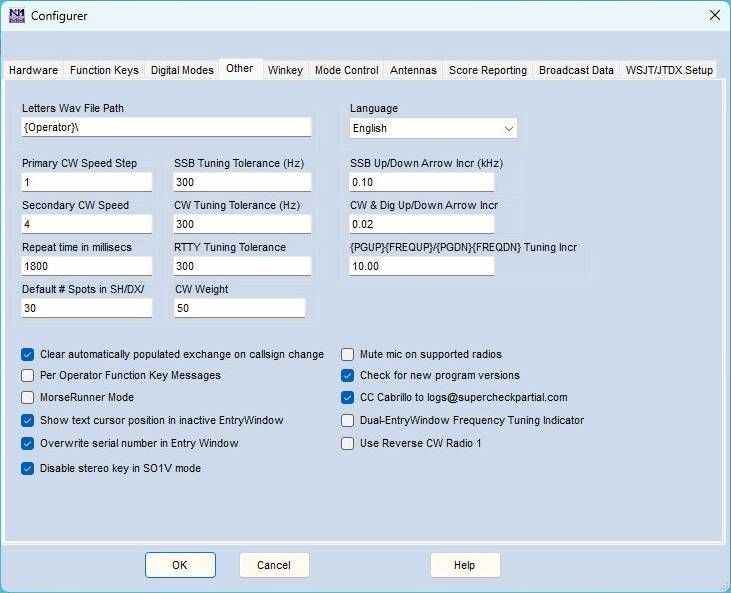
Try to stick with the defaults if you can.
I HATE CUT NUMBERS. they are confusing, and take time to figure out how to log them.
I HATE partial calls too.
ESM pertains to pressing ENTER SENDS MESSAGE. I try to reduce software automation and manage everything manually.
Leave these MACROs alone unless you know what you are doing.
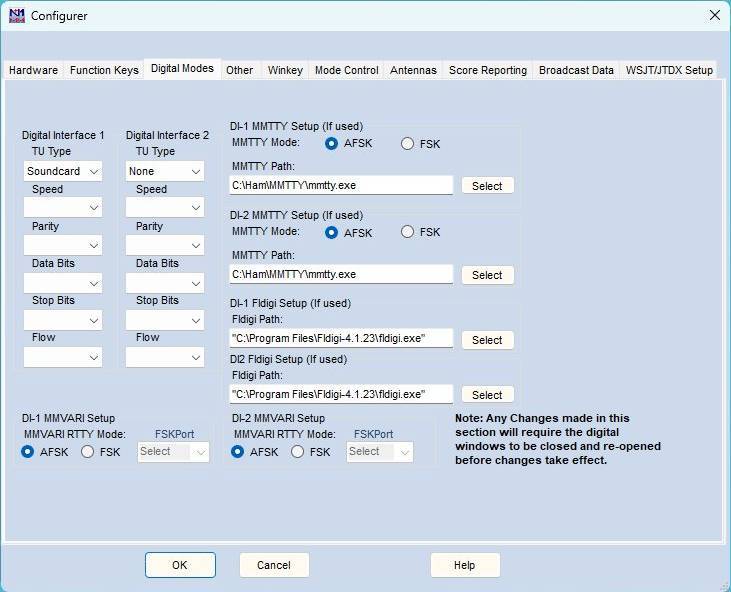
Digital and RTTY are managed here. If I write another page specifically for those modes, you are on your own. These might be a starting place if you want to try it out. Or not.
Stick with the defaults here. Shown only for clarity of progressing through the tabs.
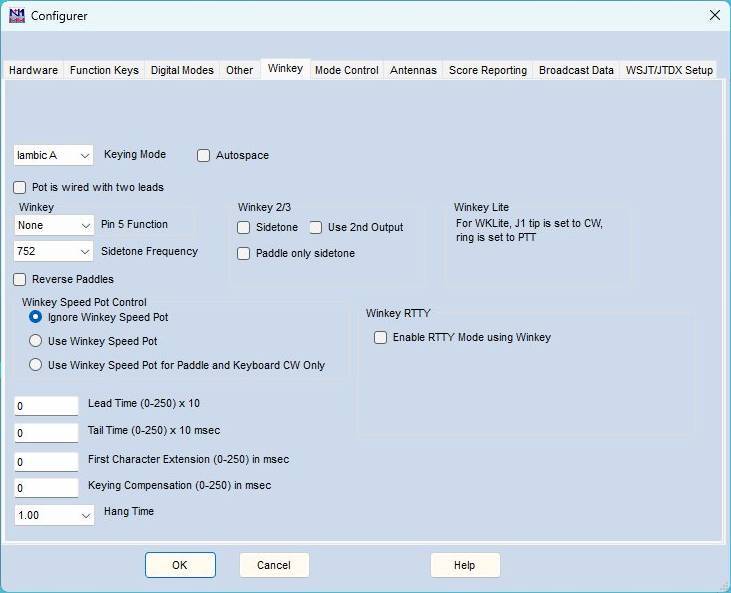
I tried messing with WinKey. It just adds another layer of confusion. Some think it makes for more precision sent code. I have seen no problems with the standard Morse that N1MM puts out. I have had PLENTY of hassles with WinKey. Leave it switched off, and everything on default values.
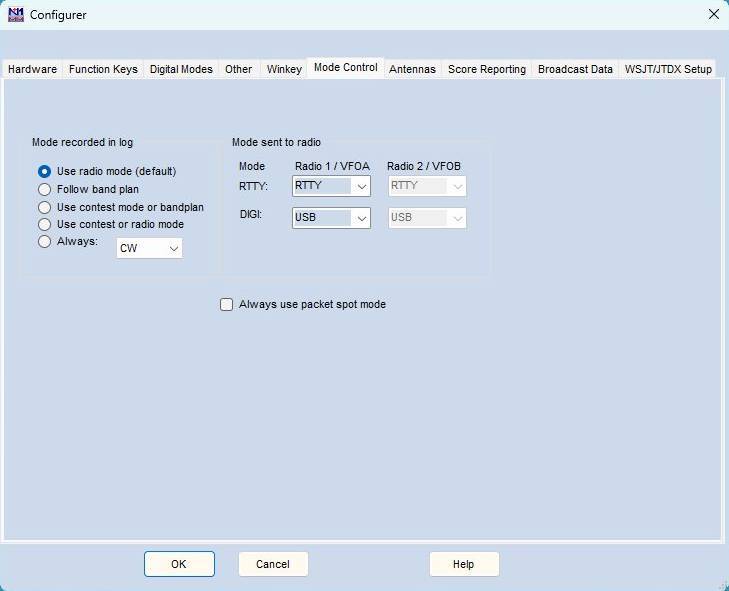
I own a radio with KNOBS because I don't want some computer messing with the settings. That's why God put a mode button on the radio. Don't mess with God's Plan.
I don't use dual VFOs because its confusing enough in a fast paced contest. A second VFO can manually monitor another frequency or band, to tell you how a pileup is going, if you want. Without computer interference. God put a button to swap the contents of the VFOs on your Yaesu FTDX101, if you want to move to the other frequency. Don't open the door to temptation by allowing software to do corrupt things to your radio.
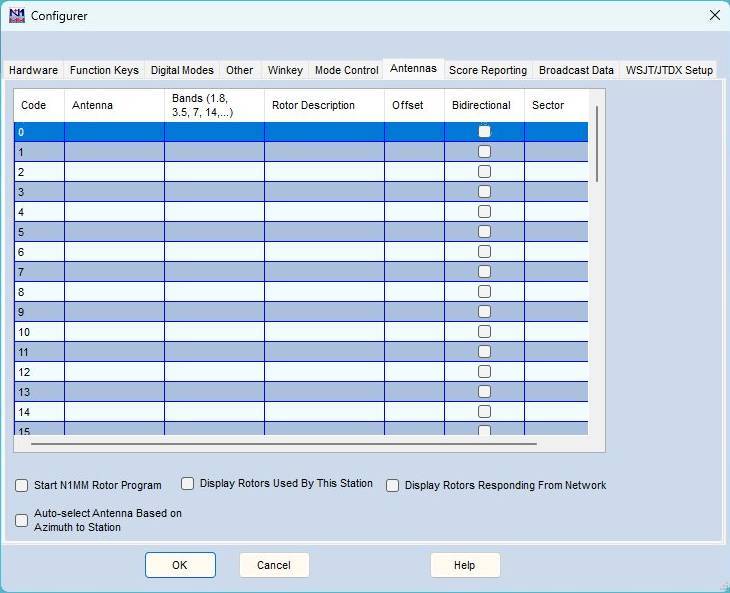
If you have multiple towers and multiple antennas, maybe even a StepIR, this tab is for you. I use only resonant dipoles for each band with a manual switch. Yeah, it would be nice if the antenna switched automatically with the band changes on the radio. Do I want to try to interface a software controlled antenna switch with this program? Hell, NO! I had enough hassle to get it to talk to the radio!
If you haven't figured it out yet, I HATE automatic anything for the most part, if its software controlled. Too many things to go wrong.
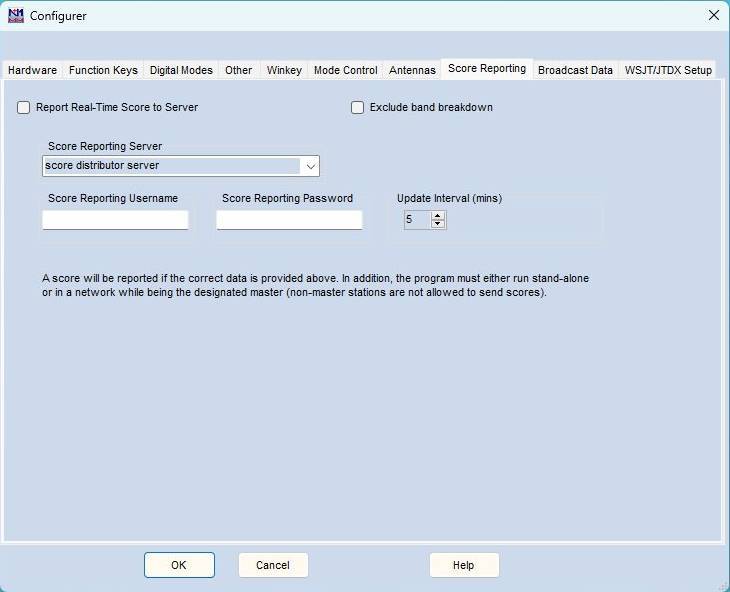
I am a "little gun" station. I am in a quiet location, and often hear rare DX before anyone else, particularly on FT8. I definitely don't want to broadcast my attempts to make a DX QSO and log it, and have some mega station show up on my frequency before I am done. They can use a DX Cluster to spot it, AFTER I am done with the QSO and LOGGED IT. Tough luck for them, they already have enough advantages.
Use these settings if you roll this way.
WSJT-X works just fine for FT8, and has logs that you can export, sign with LOTW, and upload. Why would you add another software item to fight with each other. Don't we have enough of "What we have here is a failure to communicate?
My other articles about the FTDX101D
• FTDX-101D Review
• FTDX-101D Audio Setup Menu Settings
• WSJT & FT8 Settings for FTDX101D & FTDX10
• Replacement Upgrade Speaker for Yaesu FTDX101MP and SP-101
|